This activity has been shared in a number of magazines. If you haven’t tried it, you should! You will need clothing protectors, plastic gloves, sheets of white construction paper, several cans of shaving cream, food coloring, small spatulas, and large cookie sheets or serving trays.
Before turning the activity over to your participants, demonstrate the process and explain as you go.
Then, make sure everyone’s clothing and hands are protected. Provide a pan for each participant and a can of shaving cream.
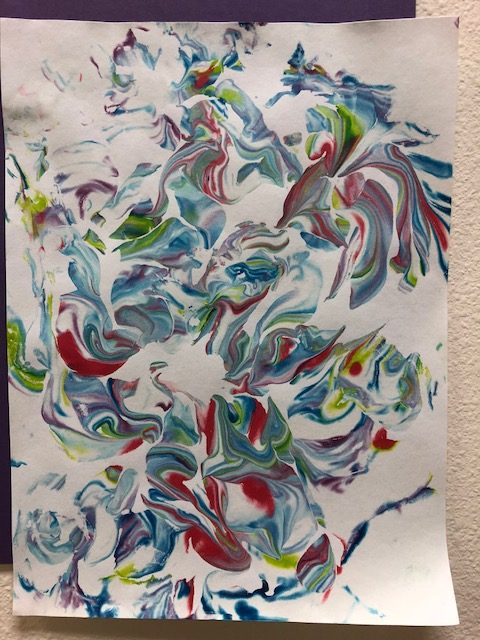
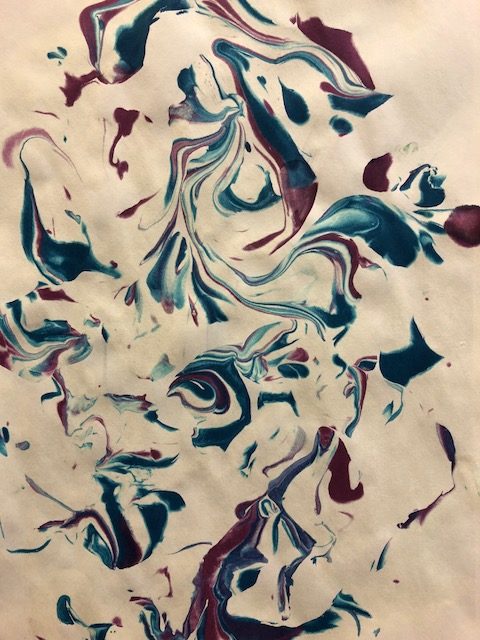
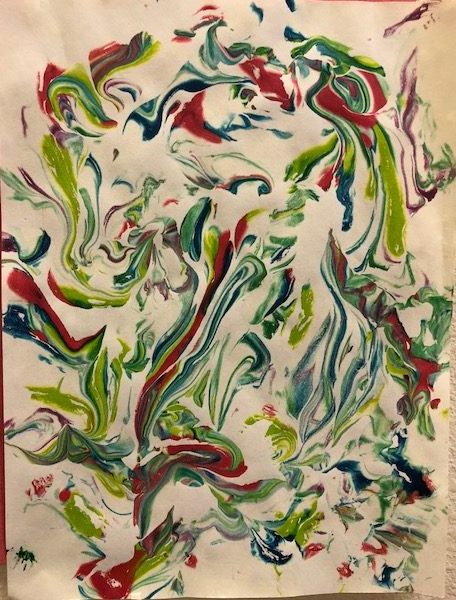
Once they have the cream in the pan, have them smooth it out using the spatula. Give each participant a small bottle of food coloring and direct them to place several several drops around the shaving cream. Do the same with the second color. Next, direct them in the swirling of the food coloring using the spatula. SWIRL do not stir. Over-swirling will result in blended colors rather than separate complimentary colors, so don’t stir too much. Place a sheet of white paper over the colored shaving cream and gently pat down. Then, carefully lift. Lay the “painted” paper on a counter to dry. You may have the participants swirl the same cream again for a different pattern and then print a new picture. After that, add a third color and do a quick swirl before printing another picture. When the shaving cream becomes too full of color, dump it and start over. The best prints are those that show distinctly different colors.
The papers should be left on a counter to dry overnight. The shaving cream will dehydrate and any residue can be gently wiped off. It’s fun to “find” a picture within the pictures, frame them with construction paper and a title.
This activity can be done using liquid poster paint, but the paint does not dehydrate and leaves thick lumps and bumps.
This is a fun activity for so many different skill levels and everyone produces a great print.